

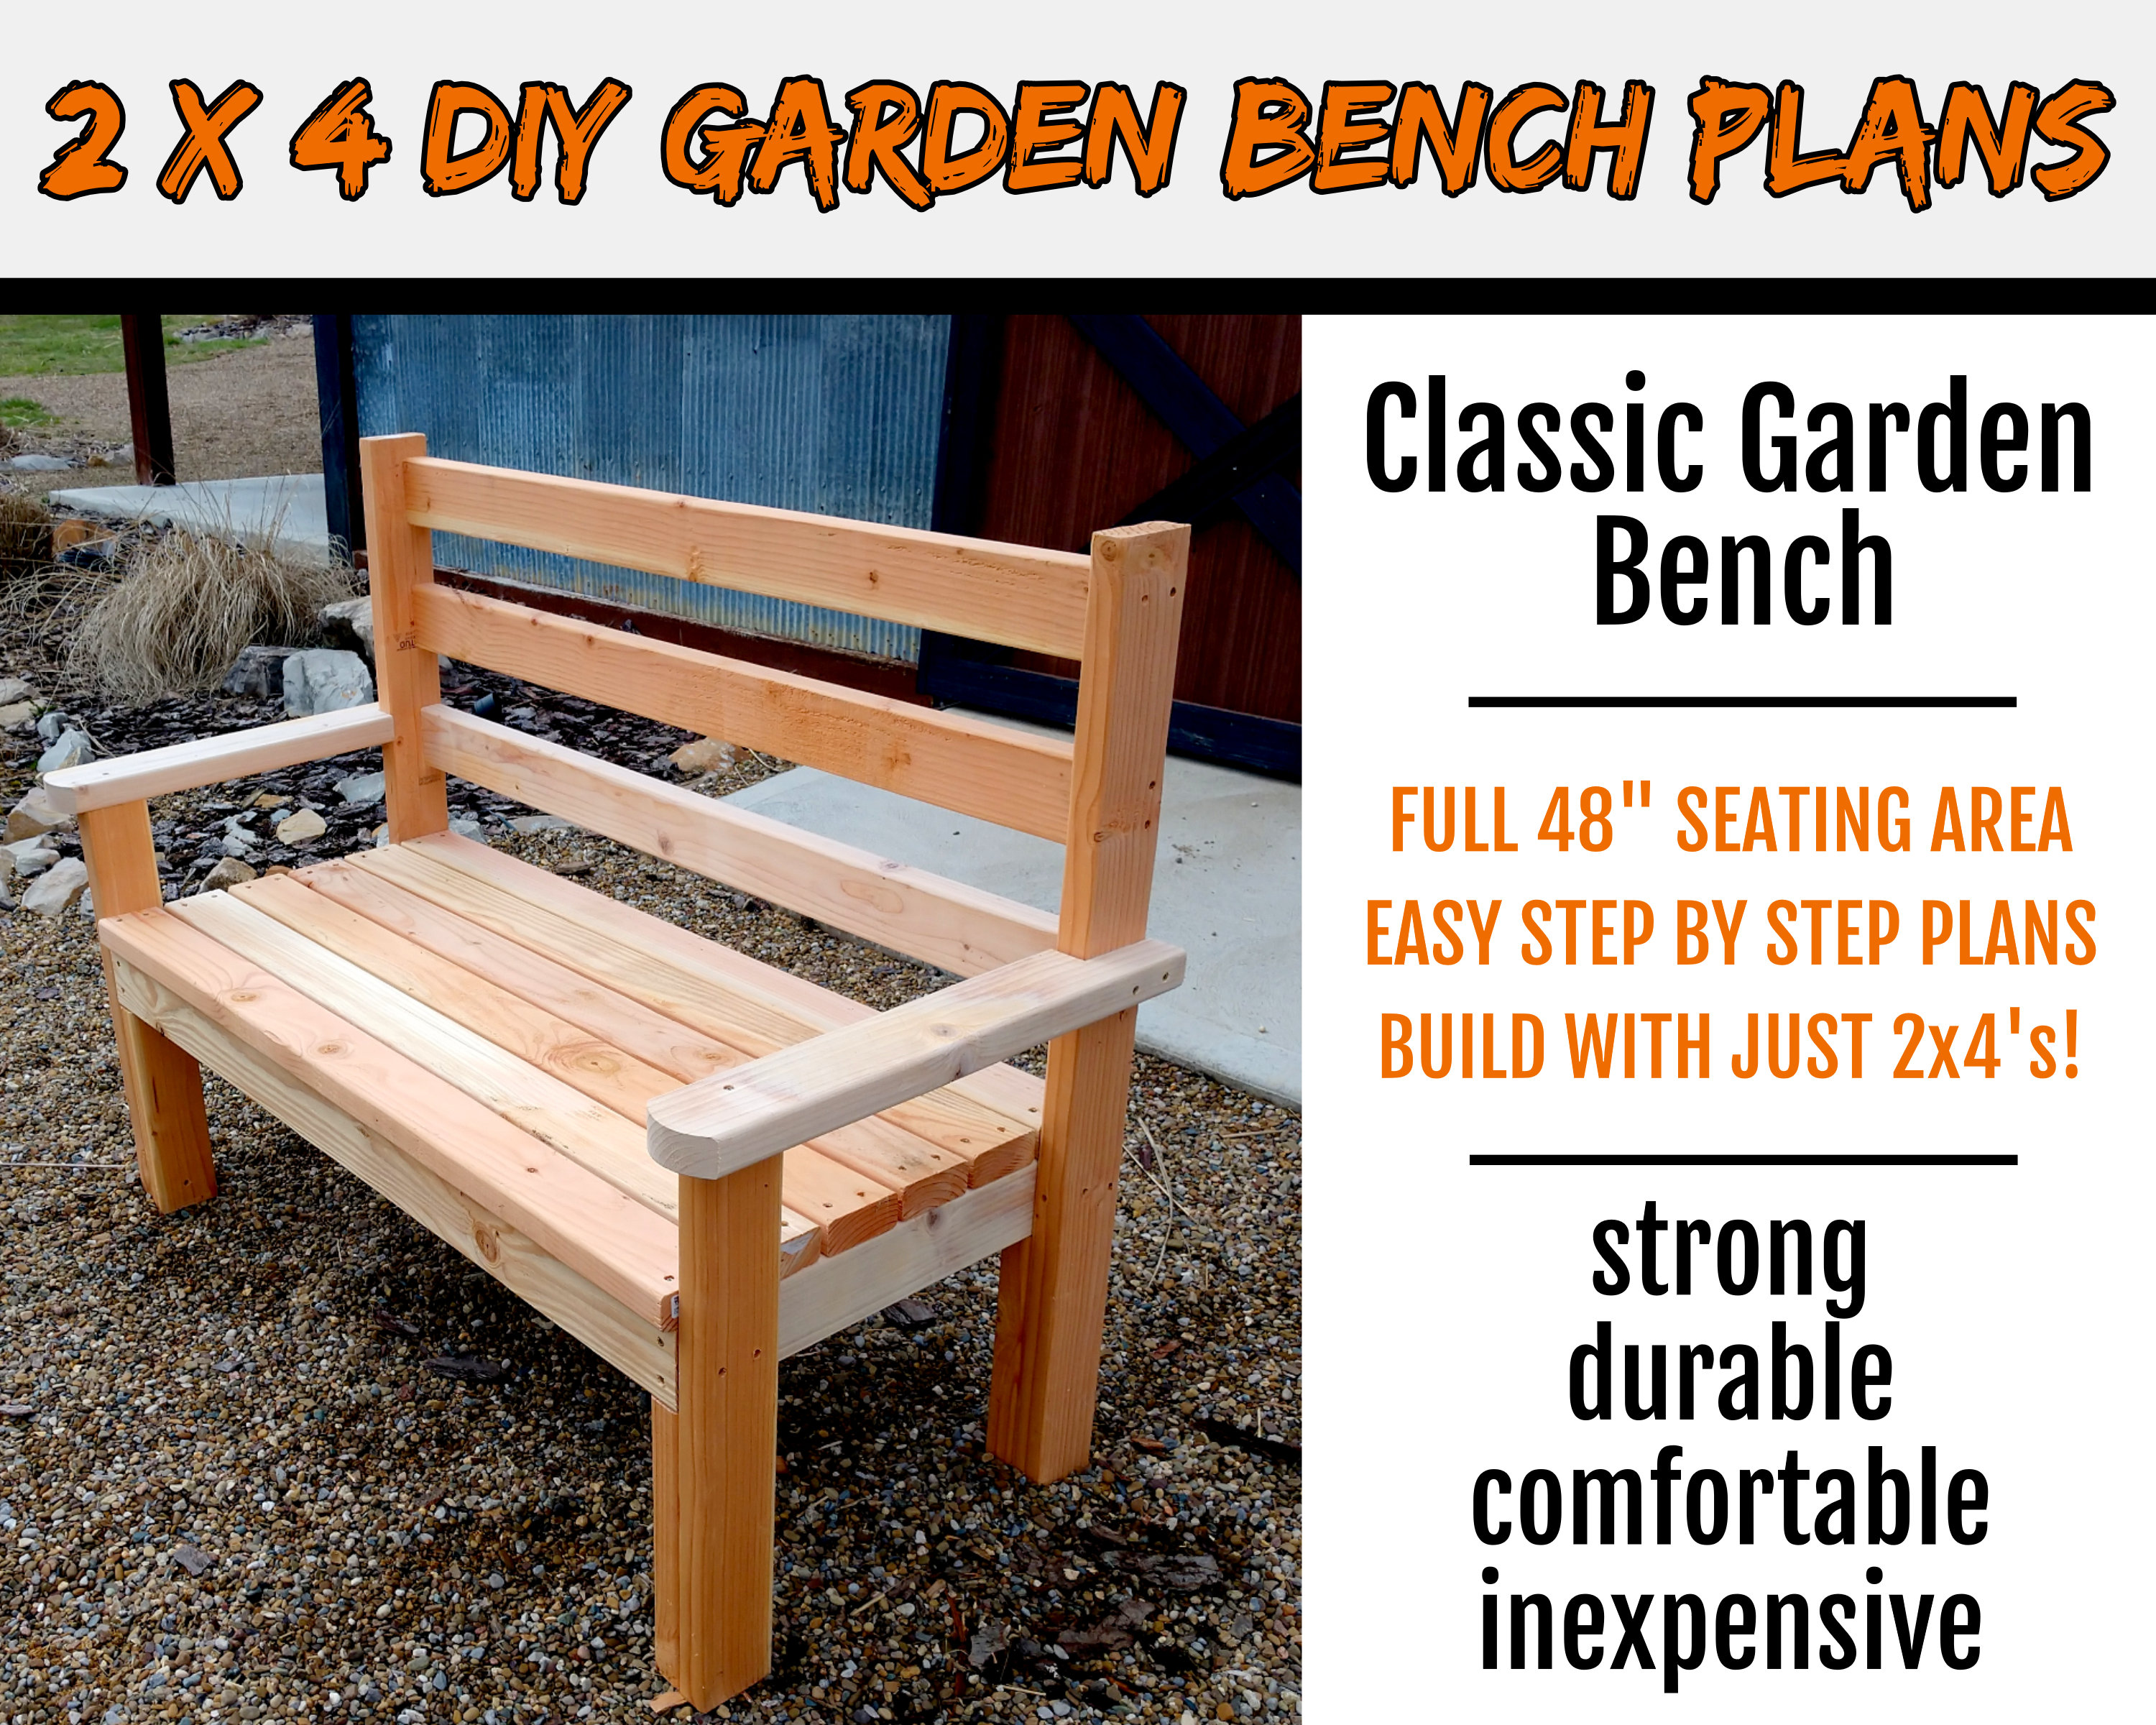
2X4 garden bench plans provide step-by-step instructions for constructing durable and stylish outdoor seating using basic materials. Transform your garden with a 2X4 garden bench.
Perfect for enjoying the beauty of nature or entertaining guests, this DIY project offers a cost-effective solution for creating a comfortable and attractive seating area. With straightforward instructions, even beginners can easily create a sturdy bench using a common 2Xlumberer.
Whether you want a rustic or modern design, these plans offer versatile options to suit your preferences. Get creative with paint or stain to match your outdoor decor. Enjoy the satisfaction of building your bench and the endless enjoyment it will bring to your garden. Discover the joy of DIY with 2X4 garden bench plans.

Credit: www.pinterest.com
Preparing Materials And Tools
Gathering all the necessary materials and tools before beginning any DIY project is important. Proper preparation will save you time and frustration later on. This section will guide you through choosing the right wood, gathering the necessary tools, and taking accurate measurements for your 2×4 garden bench.
Choosing The Right Wood
Choosing the right wood is essential for the longevity and durability of your garden bench. You’ll want to select weather-resistant lumber that can withstand outdoor conditions. Some popular options for garden benches include cedar, Teak, and redwood. These woods are known for their natural resistance to water, decay, and insect damage.
When choosing the wood, remember the overall aesthetic you wish to achieve. Cedar, for example, has a beautiful natural grain and a rich, warm color that deepens with age. On the other hand, Teak has a smooth, refined appearance and is often chosen for its durability and low maintenance.
Before purchasing your wood, measure the required lengths based on the bench plans to ensure you buy enough material. It’s always wise to buy a little extra if you make any mistakes during construction.
Gathering Necessary Tools
Now that you have decided on the type of wood, it’s time to gather all the necessary tools for your 2×4 garden bench project. The right tools will make the construction process go more smoothly and ensure accurate and precise results.
| Tools | Description |
|---|---|
| Measuring Tape | Used to measure the length of wood and ensure accurate dimensions. |
| Miter Saw | It is ideal for making precise angle cuts on the wood. |
| Drill | For drilling pilot holes and driving screws. |
| Clamps | Hold the pieces together firmly during assembly. |
| Sander | Needed to smooth out rough edges and create a polished finish. |
| Screwdriver | Useful for driving screws into the wood. |
| Paintbrush | For applying a protective finish or paint to the bench. |
Ensure all these tools are readily available before building your garden bench. It’s always helpful to have extras like spare screws and sandpaper in case you need them during the project.
Taking Measurements
Accurate measurements are crucial for a well-built and aligned garden bench. Before cutting any wood, take the time to carefully measure and mark the dimensions according to the 2×4 garden bench plans.
- Measurements should be taken with a measuring tape, ensuring they are precise to avoid any mistakes.
- Mark the measurements on the wood using a pencil or another suitable marking tool.
- Double-check your measurements before making any cuts, as mistakes can lead to ill-fitting joints or uneven pieces.
Remember, it’s always better to measure twice and cut once to prevent wasting materials and time.

Credit: youtube.com
Step-by-step Construction
Are you looking to add charm and functionality to your backyard or garden? Building a garden bench can be a rewarding DIY project that enhances outdoor space and provides a comfortable, relaxing seating area. This step-by-step guide will walk you through constructing a sturdy and stylish 2X4 garden bench. We’ve covered you, from cutting the wood pieces to attaching the seat and backrest. Let’s get started!
Cutting The Wood Pieces
Before constructing your garden bench, you must gather all the necessary materials and tools. Here’s a handy list to get you started:
| Materials | Tools |
|---|---|
| 4 pieces of 2Xlumberer (8 feet long) | Circular saw |
| Deck screws (2.5 inches) | Carpenter’s square |
| Wood glue | Drill |
| Sandpaper | Tape measure |
| Stain or paint | Screwdriver |
Once you have all the materials and tools ready, it’s time to start cutting the wood pieces according to the measurements provided in the plans. Wear safety goggles and follow all safety precautions while operating the circular saw.
Assembling The Bench Frame
Now that you have all the wood pieces cut to the right size, it’s time to assemble the bench frame. Lay out the two side pieces and use wood glue and screws to attach the front and back supports. Use a carpenter’s square to ensure the frame is perfectly square. This will provide stability and a professional finish.
Attaching The Seat And Backrest
With the bench frame in place, it’s time to attach the seat and backrest. Start by positioning the seat boards onto the frame and secure them using screws. Ensure the boards are evenly spaced and flush with the edges of the frame. Next, attach the backrest boards using the same technique, ensuring a comfortable angle for leaning back.
Sanding And Finishing
Once the bench is fully assembled, it’s time to sand down any rough edges and apply a protective finish. Use sandpaper to smooth the surfaces, and pay attention to any exposed edges. This will give your bench a polished look and help protect it from weather damage.
Finally, apply a coat of stain or paint in the color of your choice. This will add a decorative touch and provide additional protection against the elements. Allow the finish to dry completely before placing the bench in your garden or backyard.
Here you have it! You can build a beautiful and functional 2X4 garden bench following these step-by-step instructions. Remember to take your time, follow safety precautions, and enjoy the process of creating your outdoor oasis.
Credit: www.etsy.com
Frequently Asked Questions Of 2×4 Garden Bench Plans
Can I Build A Garden Bench Using 2xlumberer?
Yes, you can easily build a garden bench using 2xlumberer. It’s a popular and cost-effective option that provides strength and durability. You can create a sturdy and attractive bench for your outdoor space with the right tools and some basic woodworking skills.
What Are The Advantages Of Using 2×4 Lumber For A Garden Bench?
Using 2xlumberer for your garden bench has several advantages. Firstly, it is readily available and affordable, making it a cost-effective choice. Secondly, 2xlumberer is strong and durable, ensuring your bench lasts for years. Finally, it is easy to work with, making it suitable for beginners and experienced woodworkers.
What Tools Do I Need To Build A Garden Bench With 2xlumberer?
You will need a few basic tools to build a garden bench with 2xlumberer. These include a circular saw or miter saw for cutting Schlumberger, a drill and screws for joining the pieces together, a tape measure for accurate measurements, and sandpaper for a smooth finish.
With these tools, you can create your garden bench.
Conclusion
To conclude, these 2X4 garden bench plans offer an affordable and easy way to create a beautiful seating area in your outdoor space. With simple materials and clear instructions, beginners can confidently tackle this DIY project. By following these plans, you’ll enjoy a sturdy and stylish bench that adds functionality and aesthetic appeal to your garden.
So, why wait? Get started on building your garden bench and enhance your outdoor living space today.