

Replacing a window sill involves measuring, removing the old sill, cutting and fitting a new one, and securing it with adhesive and screws. Are you facing an issue with your window sill and need to replace it?
A damaged or worn-out window sill not only affects the aesthetic appeal of your home but can also lead to water damage and energy loss. Fortunately, replacing a window sill is a fairly straightforward process that can be accomplished with a few tools and patience.
We will provide a step-by-step guide on replacing a window sill, ensuring that your windows are functional and look their best. So, let’s dive in!
Assessing The Window Sill Condition
Assessing the condition of your window sill is crucial before attempting to replace it. By carefully inspecting for signs of rot, damage, or wear, you can determine whether a replacement is necessary, ensuring the longevity and functionality of your window.
Before diving into a window sill replacement project, properly assessing your current window sill’s condition is crucial. Doing so lets you determine the extent of wear and damage and decide whether to repair or replace it.
Signs Of Wear And Damage
There are several signs to look out for that indicate your window sill may need attention. These signs include:
- Cracks or chips in the wood or material of the sill
- Rot or water damage
- Warped or uneven surface
- Peeling or flaking paint
- Evidence of insect infestation, such as termite holes or woodworm
It’s important to note that these signs are not exhaustive, and you may come across additional issues based on your specific situation.
Deciding On Repair Or Replacement
Once you have assessed the condition of your window sill, you need to decide whether it requires simple repairs or a complete replacement. Here are some factors to consider:
- The extent of damage: Assess the severity of the wear or damage. If it’s minimal, you may be able to address it with repairs. However, if the damage is extensive or compromises the structural integrity of the sill, replacement may be necessary.
- Cost-effectiveness: Evaluate the cost of repairs versus replacing the window sill. Sometimes, repairing a damaged sill can be a temporary solution, and recurring maintenance may be more expensive in the long run compared to a replacement.
- Aesthetics: Consider the overall appearance of the window sill. If the current sill is outdated or incompatible with the rest of your interior design, replacing it can provide a fresh, cohesive look.
- Longevity: Think about the longevity of the repair or replacement option. It may be a viable choice if may be a feasible choice if a repair can restore the sill’s functionality and durability for a significant period. However, if the repairs are expected to be short-lived, replacement might be the better long-term solution.
Consider these factors to make an informed decision on whether to repair or replace your window sill.
Credit: www.thisoldhouse.com
Tools Needed For A Window Sill Replacement
When replacing a window sill, having the right tools is essential for a smooth and efficient process. This section will discuss the tools and safety equipment required for window sill replacement.
Safety Equipment List
Prioritizing safety is crucial when undertaking any home improvement project, and replacing a window sill is no exception. To ensure your well-being and protection, make sure to gather the following safety equipment:
- Safety goggles or glasses
- Dust mask or respirator
- Gloves
- Work boots
Required Materials And Tools
Alongside the safety equipment, specific materials and tools are necessary to replace a window sill. Here is a comprehensive list of what you’ll need:
| Materials | Tools |
|---|---|
| – Replacement window sill | – Measuring tape |
| – Exterior-grade wood or PVC board | – Circular saw or hand saw |
| – Exterior caulk or adhesive | – Chisel |
| – Exterior-grade paint or stain | – Hammer |
| – Sandpaper (coarse and fine grit) | – Pry bar |
| – Wood filler or putty | – Screwdriver |
| – Drill |
With these materials and tools, you’ll have everything necessary to complete a window sill replacement project efficiently and precisely. Remember to take safety precautions and follow manufacturer instructions when using the tools and equipment.
Removing The Old Window Sill
Learn how to replace a window sill by first removing the old one. This step-by-step guide will walk you through the process and ensure a smooth and successful renovation.
Before installing a new window sill, you must remove the old one. This step is crucial as it ensures a clean and stable base for your replacement. By following these step-by-step instructions, you’ll be able to remove the old window sill effectively:
Preparing The Work Area
Before you start removing the old window sill, make sure to prepare the work area. This will help you to work efficiently and minimize any potential damage. Here are a few key things to keep in mind:
- Clear the immediate area around the window, removing any furniture, curtains, or decorations that may obstruct your access.
- Protect the floor beneath the window sill by laying down a drop cloth or plastic sheet. This will prevent any debris or paint chips from causing damage.
- Wear protective gear, such as gloves and safety goggles, to protect yourself from sharp edges or flying debris.
Step-by-step Removal Process
Now that you have prepared the work area, it’s time to remove the old window sill. Follow these step-by-step instructions for a successful removal:
- Inspect the old window sill: Carefully examine the condition of the old window sill. Take note of any rotten or damaged areas, ingneeding extra attention during removal.
- Remove the caulk: Use a utility knife or putty knife to cut through the caulk seal along the edges of the window sill. This will loosen it from the wall and make it easier to remove.
- Detach the window sill: Gently pry the old window sill away from the wall using a pry bar or flathead screwdriver. Start from one end and work along the length of the sill, gradually loosening it from the wall.
- Disconnect any brackets or supports: If your window sill is secured with brackets or supports, use a drill or screwdriver to remove them. This will ensure a complete removal of the old window sill.
- Clean the area: Once the old window sill has been removed, thoroughly clean the area. Remove debris or loose caulk, and wipe down the surface to create a clean foundation for installing the new window sill.
By following these steps, you’ll be able to easily remove the old window sill and prepare to installer to work carefully and at your own pace, ensuring the work area is kept clean and safe throughout the process.
Installing Your New Window Sill
Learn how to replace your window sill with this step-by-step guide. Follow our easy instructions to install a new window sill and enhance your home’s aesthetics.
Installing Your New Window Sill
When it comes to window replacements, installing a new window sill is important to ensure a secure and aesthetically pleasing result. In this section, we will guide you through measuring and cutting the new sill and sealing and securing it into place.
Measurements and Cutting of the New Sill
Before you begin installing the new window sill, it is crucial to take accurate measurements. This will ensure the new sill fits perfectly and provides a seamless transition. Start by measuring the width of the existing sill, ensuring you consider any existing overhang.
Transfer the width measurement to the new sill material once you have the width measurement. You can use a tape measure and a pencil to mark the appropriate width. Cutting the new sill material slightly wider than the measured width is advisable, allowing for adjustments during installation.
When it comes to cutting the new sill, there are various tools you can use depending on the material. If you work with wood, a saw or a circular saw with a fine-toothed blade should do the trick. For materials such as PVC or composite, a saw with a blade specifically designed for these materials will be more effective.
Before making any cuts, wear appropriate safety gear, such as safety glasses and gloves. Make steady and precise cuts following the marked line to create your new window sill. Take time to achieve clean and accurate cuts, greatly impacting the overall appearance.
Sealing and Securing the Sill into Place
Once your new window sill is cut to the desired size, it’s time to secure it. Begin by removing the existing sill, ensuring debris or loose material is cleared away. This will provide a clean surface for the new sill to be installed.
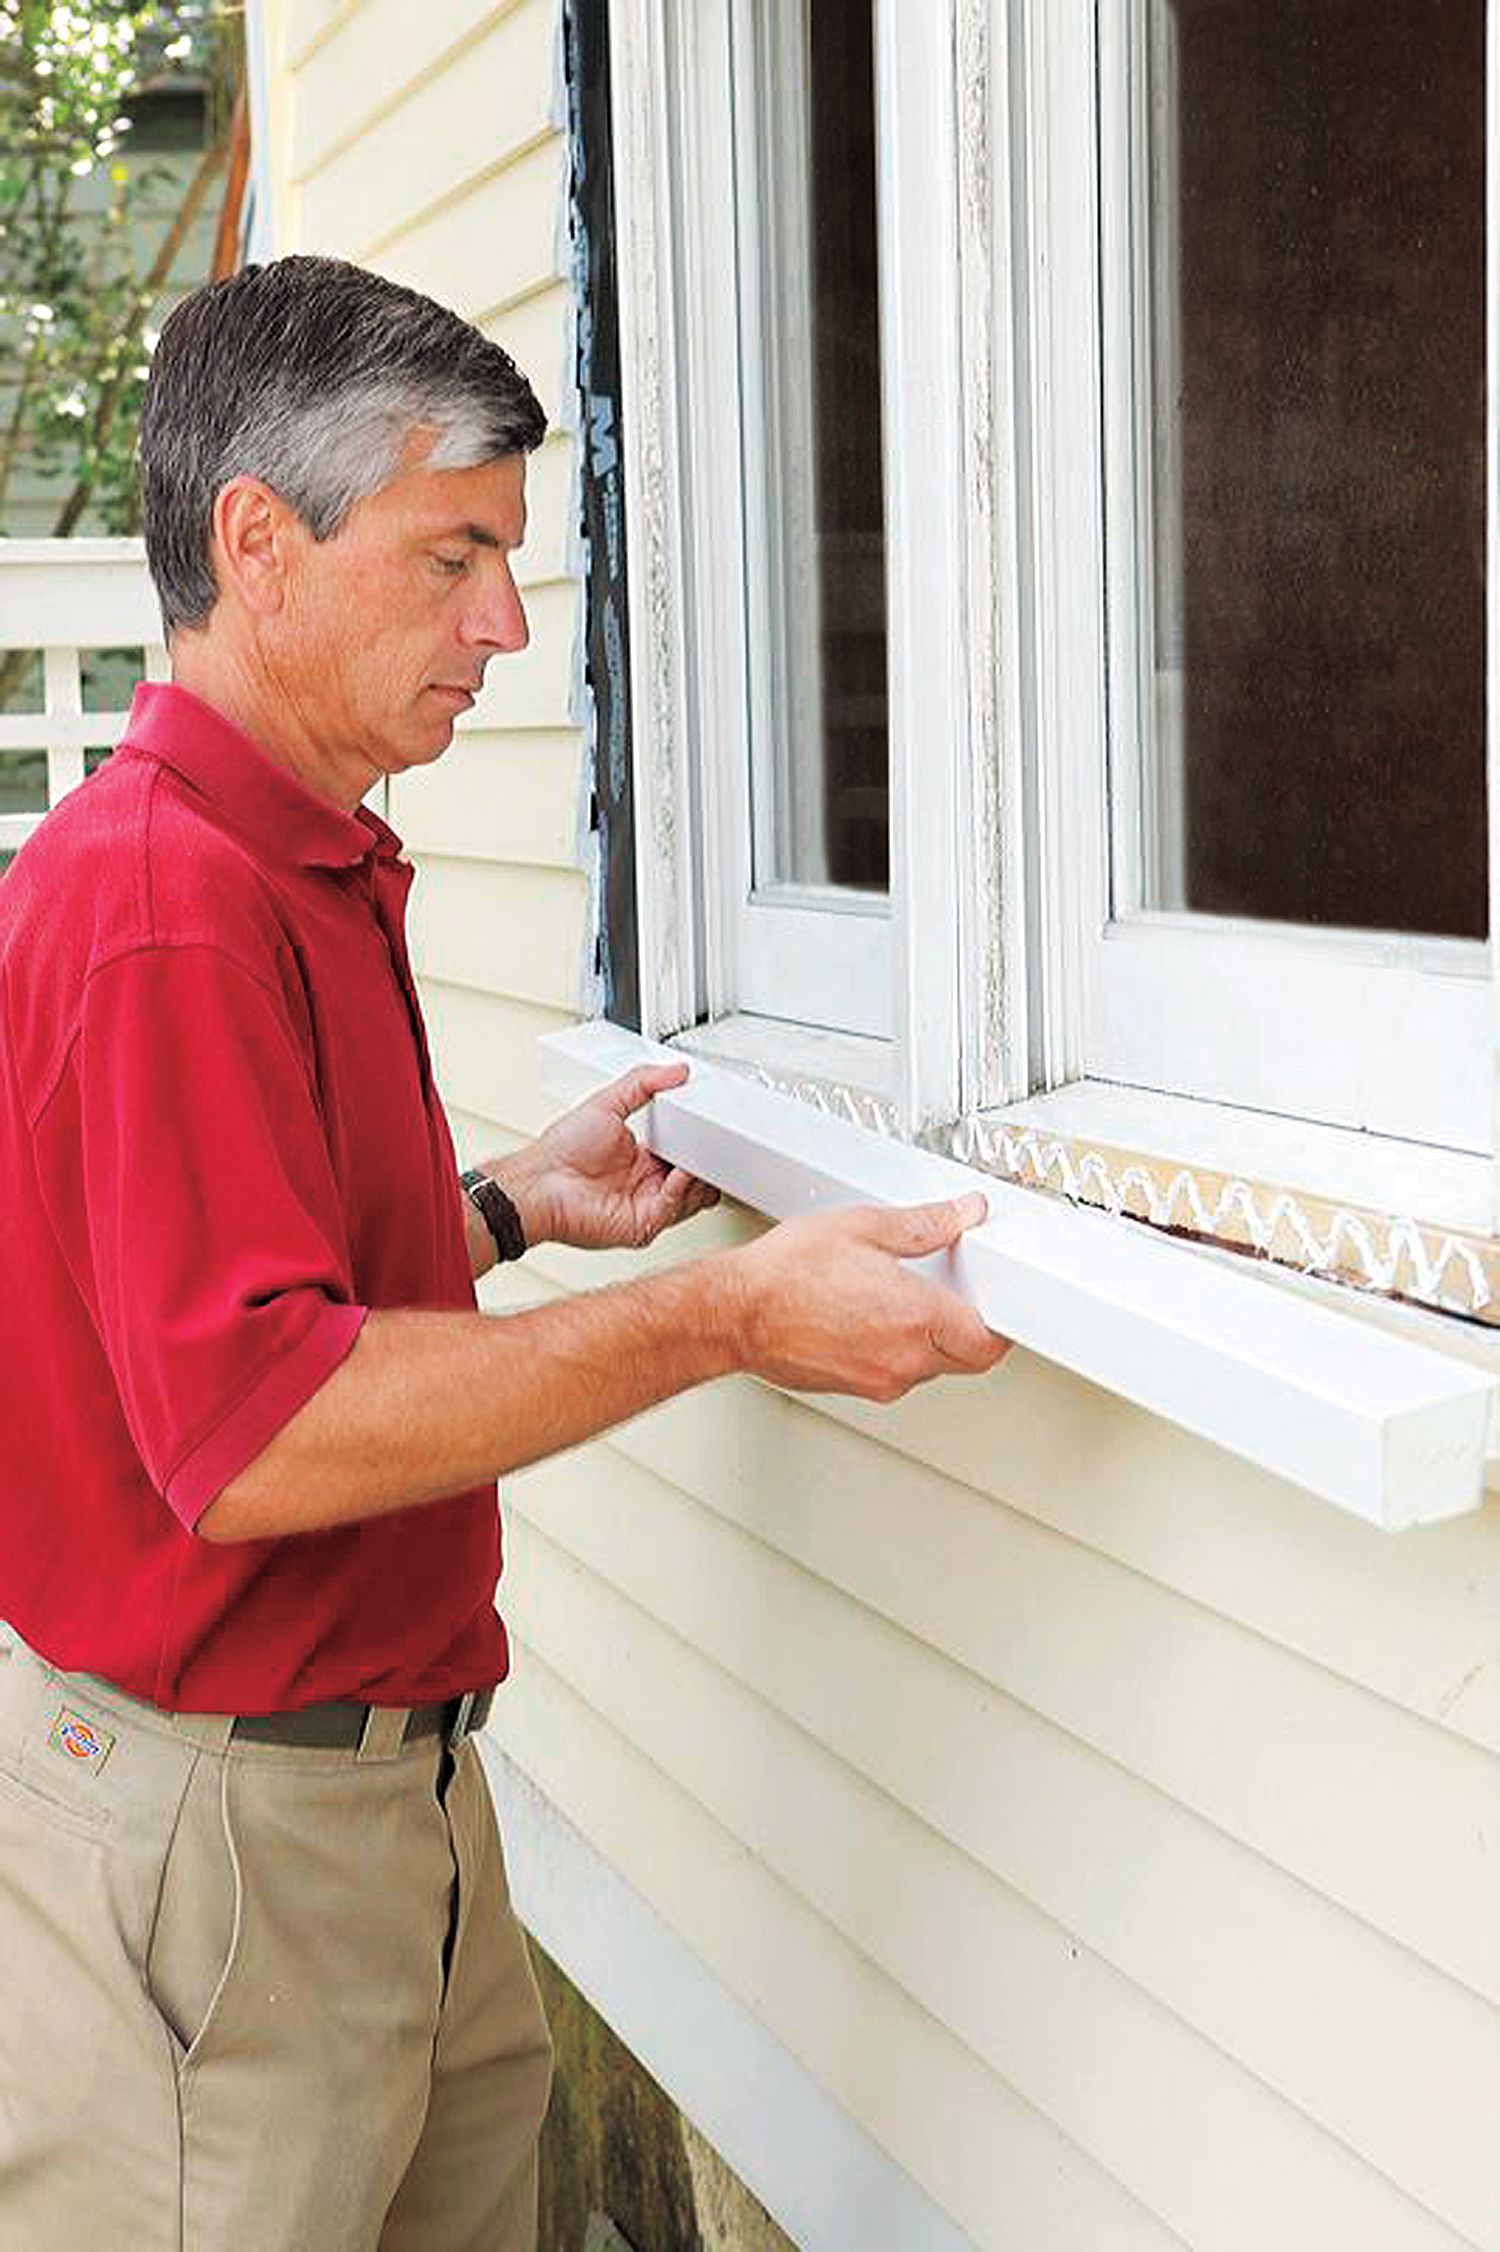
Before placing the new sill, consider applying a layer of sealant along the underside of the sill. This will help prevent water damage and ensure a tight seal. Carefully position the new sill into place, ensuring it aligns with the edge of the window frame.
To secure the sill, you can use screws or nails, depending on the material and your preference. Make sure to position them evenly along the length of the sill, ensuring a strong and secure hold.
Moreover, applying a bead of sealant along the edges of the sill, both on the interior and exterior sides, is important. This will provide an additional layer of protection against water infiltration. Smooth the sealant using a caulk gun or a putty knife for a neat and professional finish.
In conclusion, installing a new window sill requires accurate measurements, precise cutting, and proper sealing and securing. Following these steps will not only result in a sturdy and functional window sill but also enhance the overall appearance of your window replacement project. Now that you have installed your new window sill, you can proceed to other finishing touches and enjoy your windows’ improved aesthetics and functionality.
Finishing Touches And Cleanup
Once you have successfully replaced your window sill, it’s time to focus on the finishing touches and cleanup to ensure a professional and polished result. This section will guide you through the necessary steps to paint or stain your new window sill and properly dispose of the old material while leaving your workspace neat.
Painting Or Staining Your New Window Sill
Painting or staining your new window sill is important to enhance its durability and visual appeal. Here’s how you can do it:
- Begin by preparing the surface of the window sill. Use sandpaper to smoothen any rough edges or imperfections. Wipe away any dust with a damp cloth.
- Choose a suitable paint or stain that complements the overall aesthetics of your room. Consider the colour scheme, architectural style, and personal preferences. Ensure the chosen product is designed for exterior use to safeguard against weather elements.
- Apply a thin and even coat of primer to the window sill. Allow it to dry completely according to the manufacturer’s instructions.
- Once the primer is dry, it’s time to apply the desired paint or stain. Use a quality brush or roller for an even coverage. Start from one end and work towards the other, applying gentle and consistent pressure. Allow the first coat to dry completely before applying subsequent coats if needed.
- Remember to paint or stain the edges and sides of the window sill, ensuring a seamless finish.
With these simple steps, you can give your new window sill a fresh and vibrant appearance that complements your home’s aesthetic appeal.
Disposal Of The Old Material And Cleaning Up
Proper disposal of the old window sill material and thorough cleanup are vital for maintaining a clean and organized workspace. Follow these guidelines:
- If the old window sill was made of wood or other non-hazardous materials, it can be disposed of in regular household waste. However, checking local regulations or waste collection guidelines for specific instructions is advisable.
- Collect all the debris and remnants from the replacement process, such as nails, screws, and broken pieces. Dispose of them safely to avoid any potential hazards.
- Use a broom or vacuum cleaner to remove dust and debris from the surrounding area. Be thorough to ensure a clean finish.
- Wipe down the windowsill, adjacent walls, and floor with a damp cloth or mild cleaning solution to remove any remaining dirt or stains.
- Inspect the area for any missed spots or streaks and correct them for a pristine look.
By conscientiously disposing of the old material and thoroughly cleaning up, you will ensure a pleasant and safe environment and showcase your attention to detail and professionalism in completing the project.
Frequently Asked Questions On How To Replace A Window Sill
How Do You Replace A Window Sill?
First, remove the old sill by carefully prying it up to replace a window sill. Then, measure and cut a new sill to fit. Secure the new sill into place using screws. Finally, seal and finish the new sill to protect it from moisture and damage.
What Tools Do I Need To Replace A Window Sill?
To replace a window sill, you will need a pry bar, a hammer, a tape measure, a circular saw or hand saw, a power drill with screwdriver bits, a utility knife, a caulk gun, and exterior-grade caulk.
How Long Does It Take To Replace A Window Sill?
The time to replace a window sill will vary depending on your skill level and the project’s complexity. On average, it can take anywhere from a few hours to a full day to complete the replacement process.
Can I Replace A Window Sill Without Professional Help?
Yes, you can replace a window sill independently without professional help. With the necessary tools and proper guidance, you can complete the replacement process and save on hiring a professional.
Conclusion
Replacing a window sill is a manageable DIY project that can improve the appearance and functionality of your windows. Following the steps outlined in this guide and taking the necessary precautions, you can successfully replace a window sill without needing professional help.
Remember to plan, gather the necessary tools and materials, and take your time to ensure a job well done. With a little effort, you can enjoy the benefits of a new, sturdy window sill that complements your home’s design.
Start your window sill replacement today and enjoy the rewards!