

To change the Adt window sensor battery, follow these steps: Remove the sensor cover, take out the old battery, replace it with a new one, and securely reattach the cover. Now you can enjoy uninterrupted security monitoring.
Is your Adt window sensor battery running low? Don’t worry, changing it is a simple and straightforward process. By following a few easy steps, you can quickly replace the old battery with a new one, ensuring your window sensor continues to function effectively.
We will guide you through the exact procedure for changing the Adt window sensor battery, allowing you to maintain the security of your home without any interruptions. So, let’s dive in and learn how to change the Adt window sensor battery in a few simple steps.
Step-by-step Guide
Learn how to change the battery in your ADT window sensor with our step-by-step guide. Follow these easy instructions to keep your home security system running smoothly.
Step 1: Gathering The Necessary Materials
Before you start changing the battery of your ADT window sensor, make sure you have all the materials you need. Here’s a quick list of what you’ll need:
- A small screwdriver
- A fresh battery (check the model number of your window sensor for the correct battery type)
- A soft cloth or tissue
Step 2: Identifying The Window Sensor Model
To ensure a successful battery replacement, you need to identify the model of your ADT window sensor. Locate the sensor on your window and check for any model numbers or labels. If there are no visible markings, consult the user manual or contact ADT customer support for assistance.
Step 3: Removing The Sensor From The Window
Now that you know your sensor model, it’s time to remove it from the window. Carefully detach the sensor by unscrewing any screws securing it to the window frame. Gently pull the sensor away from the window, taking care not to damage it or any wires connected to it.
Step 4: Opening The Sensor Casing
With the sensor in hand, locate the casing or cover that protects the battery compartment. Depending on the model, you may need to slide or pry the casing open. If you’re having trouble, refer to the user manual or contact ADT for guidance specific to your window sensor model.
Step 5: Replacing The Battery
Once the sensor casing is open, you will see the old battery. Take note of its orientation and carefully remove it, using a small screwdriver if needed. Dispose of the old battery properly. Now, take the fresh battery and insert it into the compartment, ensuring it aligns correctly with the positive and negative terminals.
Step 6: Reassembling The Sensor
After successfully replacing the battery, it’s time to put everything back together. Close the sensor casing, making sure it snaps back into place securely. If there were any screws involved in holding the sensor to the window frame, reattach them carefully, and ensure the sensor is firmly in place.
Step 7: Testing The Sensor
The final step is to test the sensor and ensure it’s working properly. Arm your ADT security system and open the window where the sensor is installed. If everything is functioning correctly, your ADT alarm should sound, indicating that the sensor is properly connected and detecting the open window. If the alarm doesn’t sound, double-check the battery orientation and contact ADT customer support if necessary.
Remember, regularly replacing the batteries in your ADT window sensors is crucial for maintaining the security of your home. Following these step-by-step instructions ensures a smooth and successful battery replacement process.
Troubleshooting Tips
Need help changing the battery on your Adt window sensor? Follow these simple troubleshooting tips to easily replace the battery and keep your sensor working efficiently.
Even after replacing the battery on your ADT window sensor, you might find that it’s still not working as expected. Don’t worry, there are a few troubleshooting tips you can try to get your sensor back on track.
Sensor Not Working After Battery Replacement
If your ADT window sensor is still not working after replacing the battery, here are a few steps you can follow to troubleshoot the issue:
- Double-check the battery polarity: Ensure that the battery is inserted correctly with the positive (+) and negative (-) ends in the right positions.
- Inspect the battery contacts: Make sure the contacts inside the sensor and on the battery are clean and free of any debris or corrosion. You can use a soft cloth or cotton swab to clean them if necessary.
- Reset the sensor: Some ADT window sensors have a reset button or pinhole. Press and hold the reset button for a few seconds or insert a small paperclip into the pinhole to reset the sensor.
- Check the signal strength: Weak signal strength can also cause sensor issues. Ensure that the sensor is within range of the ADT control panel and there are no obstructions blocking the signal.
- Reprogram the sensor: If none of the above steps work, you may need to reprogram the sensor. Consult the user manual or contact ADT customer support for instructions on how to do this.
Battery Life Extension Techniques
To ensure that your ADT window sensor battery lasts longer, you can implement the following techniques:
- Reduce sensor trigger frequency: Adjust the sensitivity of the sensor to minimize false triggers.
- Optimize sensor placement: Properly position the sensor so that it doesn’t constantly detect movement or be affected by external factors such as direct sunlight or strong air currents.
- Regularly clean the sensor: Dust and debris can interfere with the sensor’s performance, so clean it periodically using a soft cloth or compressed air.
- Use high-quality batteries: Invest in good-quality batteries that have a longer lifespan. Avoid using expired or cheap batteries.
- Keep an eye on battery levels: Regularly check the battery levels of your ADT window sensor and replace them before they completely drain.
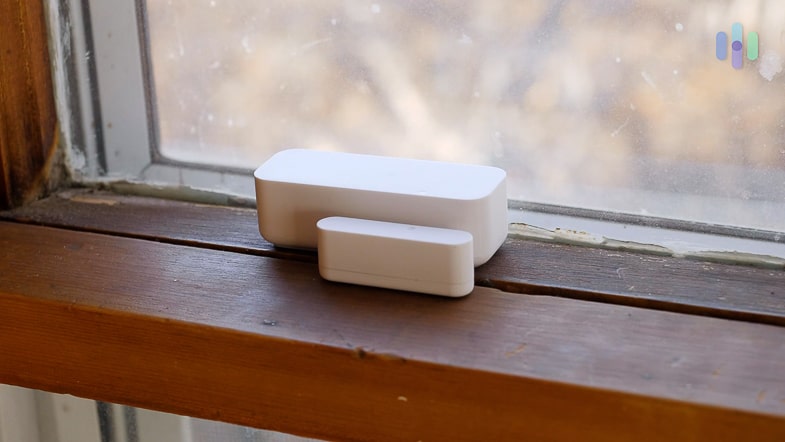
Credit: www.security.org
Frequently Asked Questions Of How To Change Adt Window Sensor Battery
How Often Should I Change The Adt Window Sensor Battery?
It is recommended to change the ADT window sensor battery every 2-3 years. However, it is always a good idea to check the battery regularly to ensure optimal performance and prevent any disruptions in your home security system.
What Happens If I Don’t Change The Adt Window Sensor Battery?
If the ADT window sensor battery is not replaced when it is low, the sensor may stop functioning properly. This can lead to false alarms or even failure to detect an actual intrusion. It is important to replace the battery promptly to maintain the effectiveness of your home security system.
How Do I Change The Adt Window Sensor Battery?
To change the ADT window sensor battery, start by removing the sensor from its mounting bracket. Open the sensor case and carefully remove the old battery. Insert the new battery, ensuring the correct polarity. Close the sensor case and remount it on the bracket.
Test the sensor to ensure it is working properly after battery replacement.
What Type Of Battery Is Required For The Adt Window Sensor?
The ADT window sensor typically requires a small lithium battery, often a CR2032 or similar. These batteries are readily available in most hardware stores or online. Make sure to check the specific battery requirements for your particular ADT window sensor model.
Conclusion
To conclude, changing the battery in your ADT window sensor is a simple yet crucial task to ensure the effectiveness of your home security system. By following the step-by-step guide provided in this blog post, you can easily replace the battery and continue to maintain the protection of your home with confidence.
Remember, regular maintenance and battery replacement is key to keeping your ADT window sensor functioning optimally. Don’t compromise on your security, take action today!